When your internet connection acts up – whether it’s Wi-Fi or Ethernet – one surprisingly effective fix is to simply reinstall the network adapter. And no, I don’t mean updating the driver. I’m talking about removing the adapter completely through Device Manager so that Windows reinstalls it from scratch. This clears all its settings, and sometimes Windows even loads a different driver in the process.
That’s usually my go-to move. If something’s not working, I open Device Manager, uninstall the adapter that’s causing trouble, and then refresh the hardware config. Sure, you can reset all network settings – that’ll also reinstall the adapters – but it touches everything: all adapters, all settings. If your issue is just with Wi-Fi, why not just reinstall the wireless adapter and leave the rest alone?
In Windows 11 and 10, the adapter gets reinstalled automatically after removal. Windows typically finds and installs the right driver without any extra steps. Still, it’s a smart move to download the latest driver beforehand from your laptop’s or adapter’s manufacturer site – just to be safe.
Reinstalling a Network Adapter in Windows: 6 Steps
Open Device Manager. There are several ways to do this, but I usually right-click on the Start menu and select Device Manager.

This method works in both Windows 11 and Windows 10.
In Device Manager, open the Network adapters section.
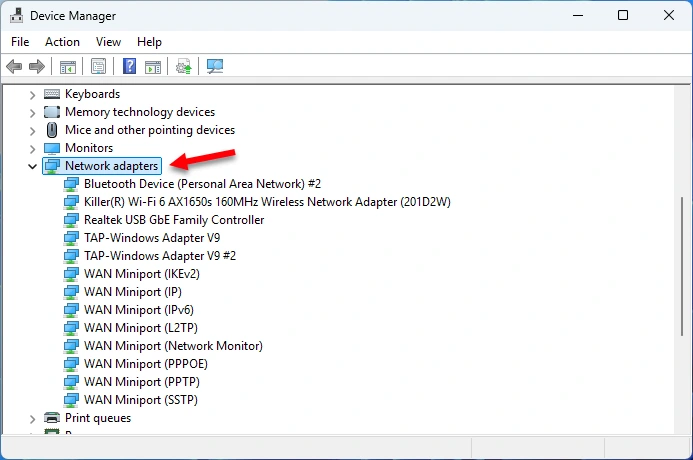
Right-click on the adapter you want to reinstall and select Uninstall device.
Important note: Uninstalling the adapter will reset its settings to factory defaults. For example, if you manually configured an IP or DNS, you will need to set them up again. If you remove the Wi-Fi adapter, your list of known Wi-Fi networks will be cleared. You will need to re-enter passwords for networks you previously connected to. If necessary, you can view saved Wi-Fi passwords in Windows 11 settings and save them in a text document or write them down.
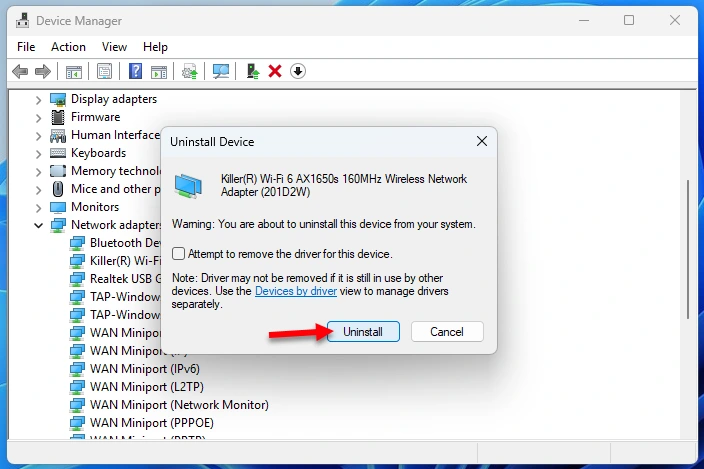
In my example, I am uninstalling the Intel Killer Wi-Fi 6 AX1650s wireless adapter because I am experiencing Wi-Fi issues.

If you want to reinstall a Wi-Fi adapter, look for an adapter with “Wi-Fi,” “Wireless Network Adapter,” “AX,” or “WLAN” in its name. If you need to reinstall an Ethernet adapter, it is usually named “Realtek GbE Family Controller”, or includes “Gigabit Network Connection,” “Ethernet,” or “GbE” in the name.
A small window will appear asking if you want to remove the driver for this adapter. I usually remove the adapter without deleting the driver (I do not check the box “Attempt to remove the driver for this device.”). If reinstalling without the driver doesn’t help, then I try removing it along with the driver.
Click Uninstall to confirm.
The removal process will begin.
The adapter will disappear from Device Manager. To reinstall it, either restart your computer or click the Scan for hardware changes button in Device Manager.
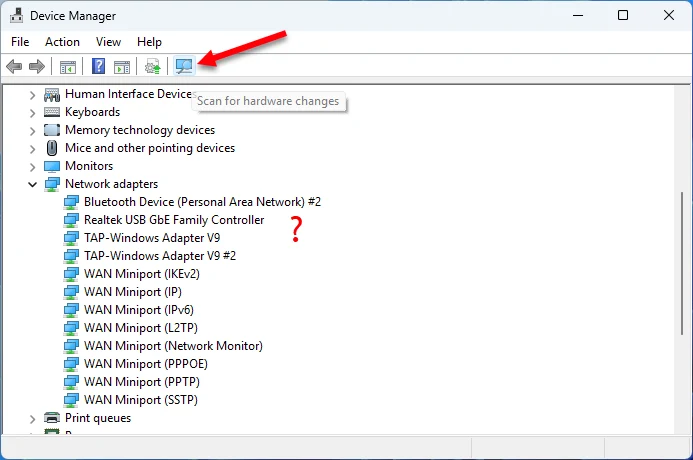
Windows will update the hardware configuration and reinstall the adapter you removed.
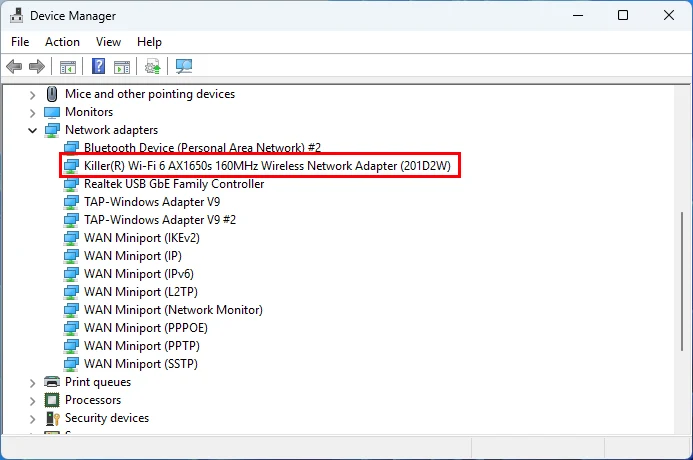
All settings for this adapter will be reset to factory defaults.
If reinstalling the adapter doesn’t resolve your issue, you may need to try other solutions, such as updating or replacing the driver or resetting network settings. However, before doing that, describe your issue in the comments, and I will try to suggest a more specific solution for you.