If you need to find your router’s IP address, for example, to access its settings, I’ll show you how to locate it on a PC or laptop running Windows 11.
You can find your router’s IP address in the properties of your Wi-Fi or Ethernet connection or through the Command Prompt. The computer you’re using to find the router’s IP must be connected to that router.
How to Find Your Router’s IP Address in Connection Properties
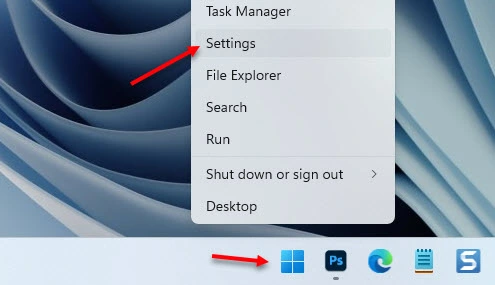
Open Settings. In Windows 11, you can right-click the Start menu and select Settings.
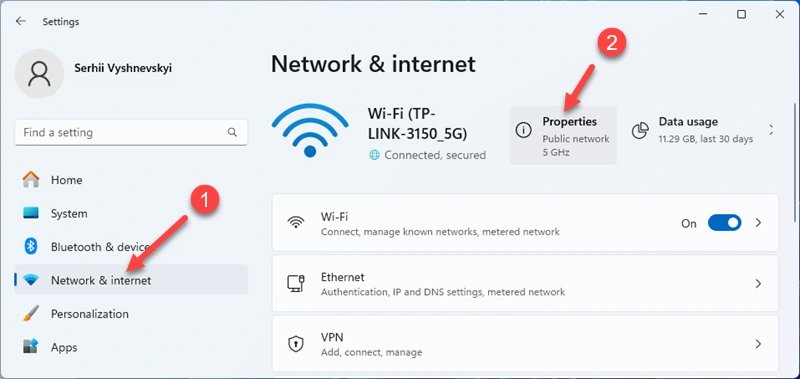
On the left, go to Network & internet. You’ll immediately see information about your active connection. For example, if you’re connected via Wi-Fi, you need to click Properties to open the connection details.
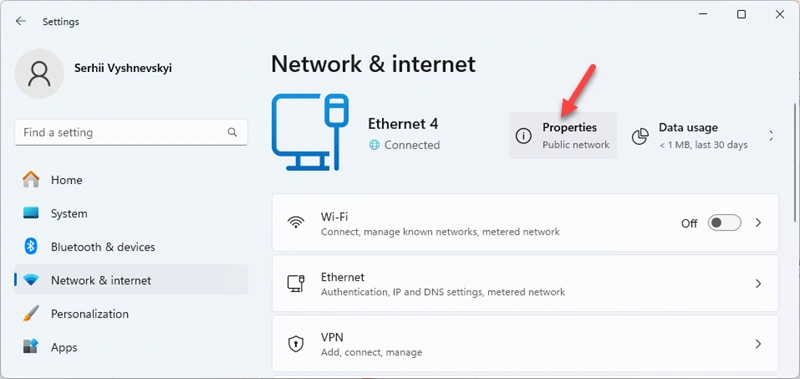
If you’re using a wired connection (Ethernet):
In the connection properties, look for the line labeled “IPv4 Default Gateway”. Next to it, you’ll see your router’s IP address.
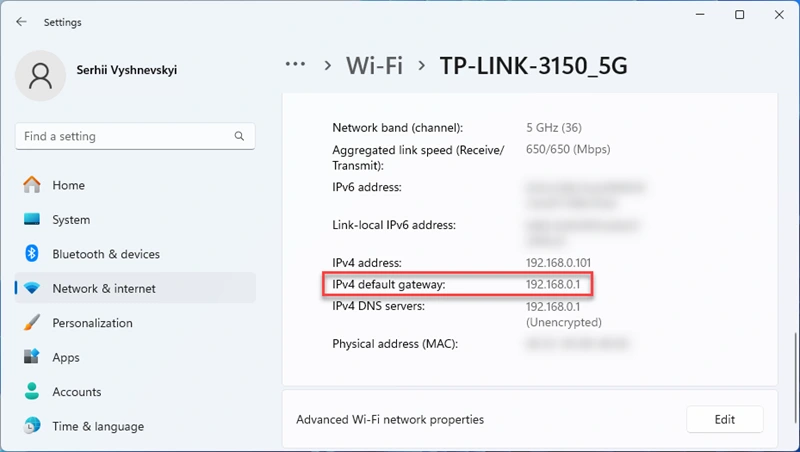
In my case, the IP address is 192.168.0.1, and my router is a TP-Link. If you enter this address into your browser’s address bar and press Enter, the router’s settings page should open. If instead, you see a search engine result, try entering the address as http://192.168.0.1 or https://192.168.0.1.
The “IPv4 Address” line shows the local IP address assigned by the router to this specific computer.
How to Find Your Router’s IP Address Using Command Prompt
You need to execute the ipconfig command in the Command Prompt or Windows Terminal, find the Default Gateway line for your active connection, and see the address
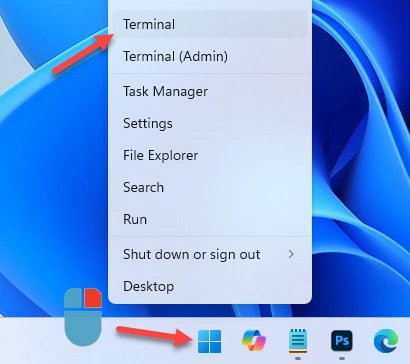
Open the Command Prompt (search for “cmd” in the Start menu or press Win + R, type cmd, and press Enter). You can also use Windows Terminal. I usually right-click the Start menu and select Terminal.
Type (or copy and paste) the following command and press Enter:
ipconfig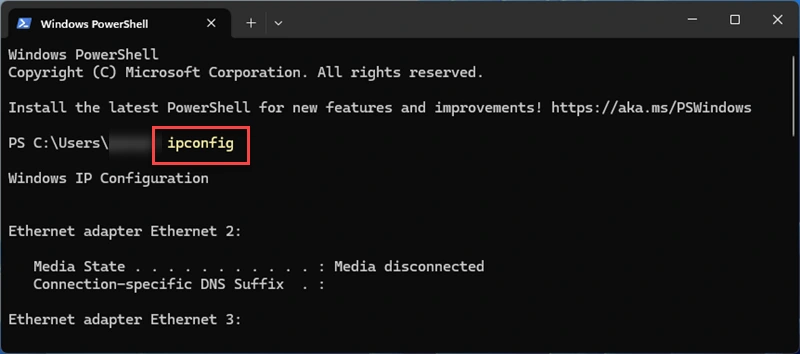
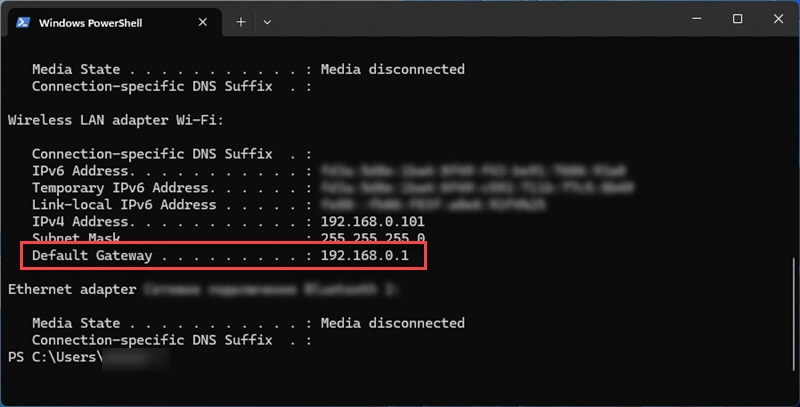
Find the connection you’re currently using to connect to the router. Usually, it is “Ethernet adapter Ethernet” for wired connections or “Wireless LAN adapter Wi-Fi”, as in my case.
Your router’s IP address will be listed under Default Gateway.
Additional Information
- Most routers and modems have a default IP address of 192.168.0.1 or 192.168.1.1.
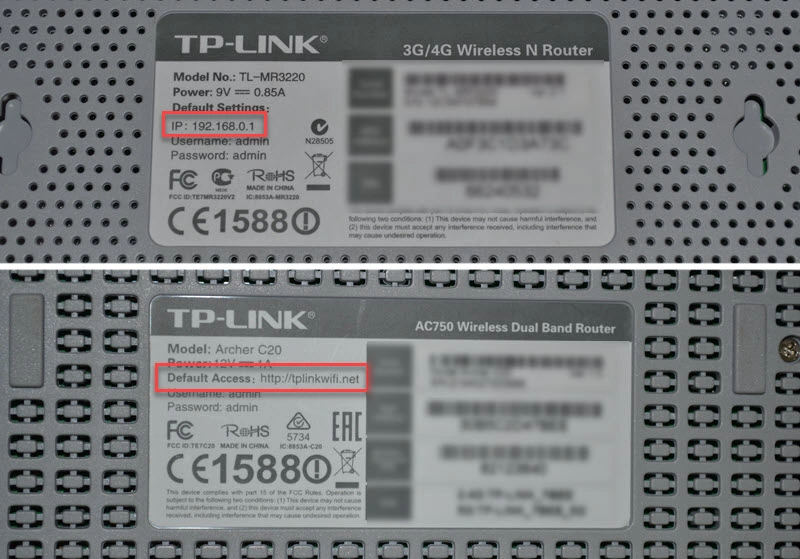
- The default IP address is usually printed on the router’s label. It may be listed as an IP address or a domain name, It looks something like this.
- If you can’t find your router’s IP address using Windows 11, try checking on another device. If you have an Android phone or iPhone connected to the router, open the Wi-Fi network properties to find the IP address. This method works on almost any device. Additionally, the ipconfig command mentioned earlier works in Windows 10, 8, 7, and even XP.
You can always ask me a question in the comments! Just mention your router or modem model, and I’ll help you find its default IP address or domain name.